Your crisp new Arduino board just came in the mail.
It feels just like when you peel the protective sheet off of your new cell phone.
If there was a "new car smell" it would be power overwhelming!
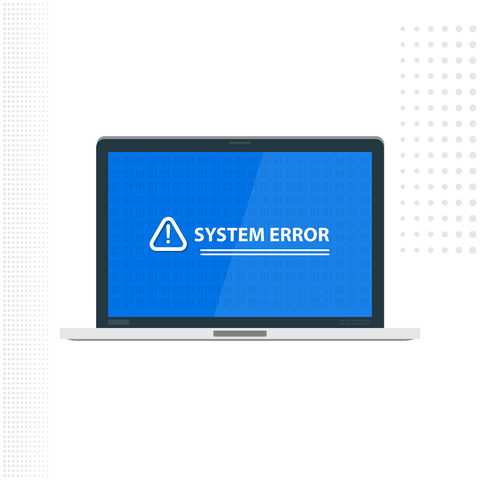
The excitement is electric as you plug it in to your computer and go to upload the sketch and then....and then....nothing.
Your excitement gets the smack down of the century with an

Okay, this dude is totally uncool, right!?
Well, first off, avrdude is the AVR downloader uploader built in to the Arduino IDE and his job is simple.
He helps take the compiled code and embed it into the chip of your specific Arduino board.
The "stk500_recv()" error is a generic - sort of - catch all error for when there is trouble communicating with your board.
And that's the rub bub. It's a "catch-all" so there is no simple ah-ha do this and it's fixed.
This error will pop up for any number of reasons.
But don't you fret!
I'm here for you and today I'm going to go through my list of potential fixes!
I'll start by doing the simple stuff first.
Are you ready?

Step 1 | Have you turned it off and back on again?
No really.
Many of the communication errors happen simply because the transmitter and receiver are no longer "lock step" and when one should be transmitting it's listening instead.
So, simply put, unplug your board from the computer, wait about 10 seconds, and then plug it back in.
Now try again!
Did that fix it!? Great! My job's done, that'll be $10,000.
Just kidding.
But seriously, never underestimate the power of a power cycle!
See what I did there?
Oomph tough crowd tonight.
Okay, so let's say that didn't work.
Step 2 | Hit the Reset button
If your Arduino board has a reset button, go ahead and tap it.
This soft cycle can also help get it back in sync with the IDE.
And speaking of the IDE, let's try closing it down and the reopening it and if that still didn't work...
Step 3 | You have the right board selected right?
Many times you'll be bouncing back and forth between different flavors of Arduino architecture, from the Nano to the ESP32 back to the Uno and then to the Mega.
All of these boards have different chipsets on them and all of them have different communication protocols.
Think of it like dialing AOL and setting the correct baud rate...okay I just dated myself...
How about we think of it like Mandarin and Cantonese.
Although they are both dialects in the Chinese language, they are not mutually intelligible, that is, knowing one does not mean you can speak the other or be understood by the other.
The same thing happens with Arduino boards.
Communicating requires that you have the correct dialect selected.
So let's look at what our IDE is expecting by clicking the Tools menu.

These three parts are very important.
They tell the AVR dude how to "talk" with the board. Let's look at each one:
Number 1| Board.
Here I have the Arduino Nano selected, which is the standard board for Dr. Duino's Explorer kit.
Make sure you have the correct board selected.
Number 2| Processor.
Here it's set to the ATmega328p.
Sometimes this will need to be set to "ATmega328p (old bootloader)" depending on which chipset gets sent to you.
Unfortunately, this is just a trial and error approach, there aren't any external indicators to help you decide.
Just try one and then the other.
Number 3| Port.
The port is the one that definitely gets messed up the most, especially if you've had multiple boards connected to your computer or swapped to a different USB port, as well.
Just try each one until you get it successfully connected.
PRO Move Alert | Try opening the serial monitor when you change the port by clicking Tools and then Serial monitor, or using the shortcut Ctrl + Shift +M on your keyboard.

If you have the correct port selected you'll be greeted with the serial monitor, if not you'll get a "port busy" error like this one after a few seconds:

If after trying all those steps above you still can't banish the AVR dude from your life, then you may have to dive deeper.
Some things to ask yourself:
- Do I need specific or different drivers?
- Is my USB cable bad?
- Are there any extra shields attached?
- Perhaps I have a shorted connection between the Tx and Rx pins?
- Was I doing something that could have sent stray voltages through the chip and fried it?
Of course, I can't possibly cover ever scenario here, but if you want to learn more and get an expert in your corner that will help you learn the ins-and-outs, I'd love to invite you to check out our entire line of Arduino Uno and Nano based shields.
If you have some electronics experience the Dr.Duino Explorer is the choice for you. Just click the photo below to find out more about.

If you're new to Arduino and electronics, then the Dr.Duino Pioneer version is the best choice. Click the photo below to learn more.

Which one will you choose, click here to learn more about the Explorer or here to learn about the Pioneer!